No-sew fleece blankets are a fun and easy DIY project requiring no sewing skills. Perfect for all skill levels, they offer a cozy, customizable way to create warm blankets for gifts, charity, or personal use. With simple tools like scissors and fleece, you can craft a meaningful blanket in just a few hours. This guide provides step-by-step instructions to help you get started and enjoy the satisfaction of creating something warm and useful.
Overview of the Project
Creating a no-sew fleece blanket is a straightforward and rewarding project that requires minimal tools and no sewing expertise. The process involves cutting and tying fleece strips to create a decorative fringe along the edges. This method ensures a cozy, personalized blanket perfect for gifts, charity donations, or personal use. The project is ideal for beginners and experienced crafters alike, offering flexibility in size, color, and design. By following simple steps, you can complete a blanket in a few hours, making it a great activity for individuals or groups. The end result is a warm, durable blanket with a professional finish.
Benefits of Making a No-Sew Fleece Blanket
Making a no-sew fleece blanket offers numerous benefits, including its simplicity and accessibility for all skill levels. It requires no sewing expertise, making it a great project for beginners. The process is quick and cost-effective, allowing you to create a cozy blanket in just a few hours. Additionally, it’s a thoughtful gift or donation item, providing warmth and comfort to those in need. The project is also eco-friendly, as it repurposes fleece material, and it’s a fun, engaging activity for individuals, families, or groups. Overall, it’s a rewarding DIY project with practical and emotional value.
Materials and Supplies Needed

To make a no-sew fleece blanket, you’ll need two coordinating fleece fabrics, sharp scissors, a ruler or measuring tape, and optional tools like a rotary cutter and mat. Masks or templates for cutting are also helpful for precision. Ensure the fleece is of adequate size for your desired blanket dimensions. These materials are easily accessible and budget-friendly, making the project accessible to everyone.
Fleece Fabric Requirements
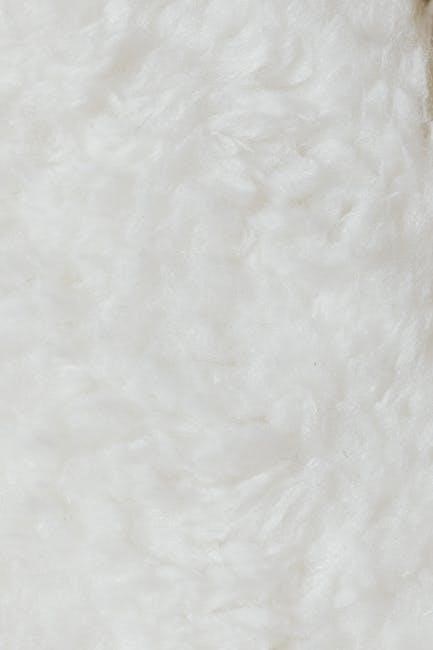
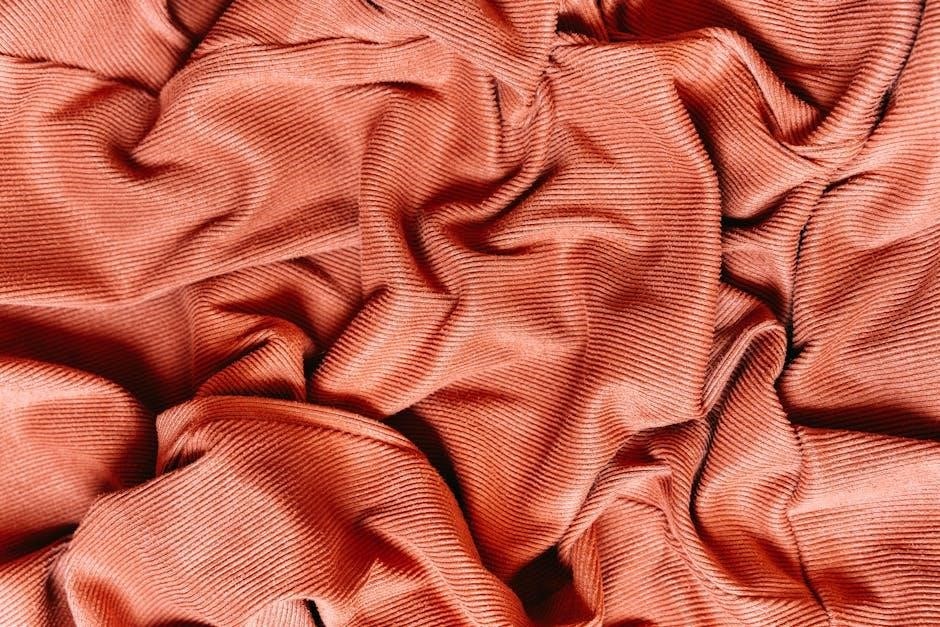
Choose high-quality, anti-pill fleece for durability and softness. Select two coordinating fabrics, one for the front and one for the back. For a baby blanket, use 1-1.5 yards of each fabric; for a child, 1.5-2 yards; and for an adult, 2-2.5 yards. Ensure the fleece is 58-60 inches wide. Opt for matching or contrasting colors to personalize your blanket. Pre-wash the fabric to remove any finishing chemicals and prevent shrinkage. Always square the fabric edges before cutting to ensure even dimensions. This step guarantees a professional-looking finish for your no-sew fleece blanket project.
Tools and Accessories
To make a no-sew fleece blanket, you’ll need a few essential tools. Start with sharp fabric scissors or a rotary cutter and mat for precise cutting. A ruler or tape measure is crucial for accurate measurements. Masking tape can help align edges, and a cutting mat protects your work surface. Optional items include a rotary cutter guide for straight cuts and a corner tracer for consistent corners. Labels or personalized tags add a finishing touch. Ensure all tools are within reach to streamline the process. These simple tools make crafting a no-sew fleece blanket easy and enjoyable for crafters of all levels.
Step-by-Step Instructions
This guide provides a comprehensive walkthrough for creating a no-sew fleece blanket. Follow the simple steps to prepare, cut, and tie your blanket for a cozy, professional finish.
Preparing the Fleece
Start by laying the fleece flat on a large, stable surface. Trim any uneven edges or selvage to ensure the fabric is even and squared. If using two layers, align them perfectly, ensuring the patterns or colors complement each other. Remove any wrinkles by gently stretching the fleece or ironing it on a low setting. This step ensures accuracy when cutting and prevents fraying. For single-layer blankets, simply smooth out the fabric and trim as needed. Proper preparation guarantees a neat, professional-looking blanket and makes the cutting process easier. Always use sharp scissors or a rotary cutter for clean cuts.
Cutting the Fleece
Begin by cutting a 4-inch square from each corner of the fleece to prevent bulky edges. Next, cut 1-inch wide strips along all four sides, 4 inches deep, to create the fringe. Use sharp scissors or a rotary cutter for clean, precise cuts. For accuracy, place masking tape 4 inches from the edge to guide your cuts. Ensure the strips are evenly spaced and consistent in length. Cutting carefully now makes tying the knots easier later. This step transforms the fleece into a blanket with a decorative fringe, ready for the next stage of knot-tying.
Creating the Fringe
After cutting the corners, use sharp scissors or a rotary cutter to create the fringe. Cut 1-inch wide strips along all four sides, 4 inches deep, ensuring consistent length. To maintain accuracy, apply masking tape 4 inches from the edge as a guide. Trim carefully at the corners to avoid overlapping or uneven cuts. This step transforms the fleece into a blanket with a decorative fringe, ready for knot-tying. Even, uniform strips are key for a polished look. Take your time to ensure each cut is precise and aligned for the best results.
Tying the Knots
To secure the fringe, tie overhand knots using one strip from the front and one from the back. Hold the blanket edge steady, loop the strips together, and pull gently to tighten. Ensure knots are snug but not overly tight, as this can cause puckering. Work methodically around the blanket, maintaining even spacing between knots. For consistency, tie knots at the same tension and position on each fringe pair. This step completes the blanket, giving it a finished, decorative edge. Take care to double-check each knot for security before moving on. This ensures durability and a professional-looking finish.
Customizing Your Blanket
Customizing your no-sew fleece blanket allows you to express your creativity by selecting vibrant colors, playful patterns, and adding personalized touches for a unique finish.
Choosing Colors and Patterns
Choosing the right colors and patterns is a key step in creating a personalized no-sew fleece blanket. Opt for coordinating fabrics to ensure a cohesive look, such as pairing a bold print with a solid color. Bright, vibrant hues work well for children, while muted tones are ideal for adults. Consider the recipient’s preferences or match the blanket to a specific theme. Anti-pill fleece is recommended for a softer, more durable finish. You can also mix contrasting colors for a unique, eye-catching design that reflects your creativity and style.
Adding Personalized Touches
Personalized touches make your no-sew fleece blanket truly special. Consider adding custom labels, appliques, or iron-on designs to give it a unique flair. For example, you can include the recipient’s name, a meaningful date, or a favorite quote. Use fabric markers or iron-on transfers to add decorative elements like stars, hearts, or animals. Additionally, you can incorporate themed fleece patterns or contrasting trims for a personalized look. These small details elevate the blanket from a simple project to a heartfelt, one-of-a-kind gift that reflects the recipient’s personality or interests.
Tips and Tricks
Use masking tape for straight cuts and trim selvage edges to prevent curling. Cut fringe carefully to avoid tangling and ensure a neat, professional finish every time.
Ensuring Even Edges
To achieve even edges, align both fleece layers carefully before cutting. Use a ruler or masking tape as a guide to maintain straight lines. Trim the selvage edges, which can curl, to ensure a smooth finish. For larger blankets, consider using a rotary cutter and mat for precision. Lay the fleece flat on a sturdy surface and double-check measurements before making cuts. This step ensures your blanket has professional-looking edges without any unevenness or fraying, making the final product both durable and visually appealing.
Minimizing Fringe Tangling
To prevent fringe tangling, ensure strips are evenly cut and of consistent length. Use a rotary cutter and mat for precise cuts. Avoid excessive pulling or tugging while tying knots. Work in small sections, completing one area before moving to the next. Gently run your fingers through the fringe after tying to detangle any knots. For added ease, consider using anti-pill fleece, which resists fraying. By following these steps, you can maintain neat, untangled fringe that enhances the blanket’s appearance and durability.

Troubleshooting Common Issues
Common issues include uneven knots, loose threads, and misaligned fabric. To resolve, ensure even knot spacing, trim loose ends, and realign fabric before tying. Prevent buckling by not tying too tightly.
Fixing Uneven Knots
Uneven knots can make your blanket look inconsistent. To fix this, gently untie and redo any knots that appear loose or uneven. Ensure knots are tied snugly but not too tightly, as this can cause the blanket to pucker. For preventative measures, tie knots consistently, using a template or guide if needed. If knots become too tight, carefully trim excess fringe to restore balance. Regularly inspect your work as you go to catch and fix uneven knots early, ensuring a professional finish. This attention to detail will make your blanket both functional and visually appealing.
Repairing Frayed Edges
Frayed edges can occur if the fleece isn’t handled carefully. To repair them, trim the frayed sections with sharp scissors, ensuring even cuts. For prevention, handle the fleece gently during cutting and tying. If fraying persists, consider using anti-fray spray or fabric sealant. Regularly inspect edges and trim as needed. This will maintain your blanket’s appearance and prevent further fraying. Keeping your tools sharp also helps minimize fraying. By addressing frayed edges promptly, you can ensure your blanket remains durable and looks its best for years to come. Proper care extends the life of your handmade blanket.

Safety Precautions
Always use sharp scissors and handle them carefully to avoid cuts. Work on a stable surface and keep fingers away from blades. Supervise children during the project. Ensure good lighting to see cuts clearly. Store tools safely after use. Handle fleece gently to prevent pulling or stretching. Avoid overreaching or rushing while cutting. Keep loose clothing tied back to prevent accidents. Follow these guidelines to ensure a safe and enjoyable crafting experience while making your no-sew fleece blanket.
Handling Scissors and Sharp Objects
Always use sharp scissors or a rotary cutter with caution to avoid accidents. Keep fingers away from blades and ensure a firm grip on the tool. Store scissors and sharp objects out of children’s reach. Use a stable, flat work surface to prevent slipping. Avoid cutting towards your body or reaching over the blade. Supervise children when handling sharp tools. Keep loose clothing or jewelry tied back to avoid entanglement. Regularly inspect tools for damage and replace them if necessary. Proper handling ensures a safe and enjoyable crafting experience while making your no-sew fleece blanket.
Working with Fleece Safely
When working with fleece, ensure the fabric is on a stable, flat surface to prevent slipping. Avoid pulling or stretching the material excessively, as it may cause static electricity or irritation. Use scissors or tools with care, as fleece can be slippery. Keep loose clothing or long hair tied back to avoid accidental entanglement. If handling large pieces, cut them into smaller sections for better control. Store fleece in a dry, cool place to prevent mildew. Avoid inhaling fleece fibers, as they can cause respiratory irritation. Always supervise children when handling fleece to ensure their safety. Proper handling ensures a safe and enjoyable project.
Creating a no-sew fleece blanket is a simple yet rewarding project that offers warmth and comfort. Perfect for gifts or charity, it’s a thoughtful handmade creation.
Final Tips for Success
For a successful no-sew fleece blanket, use sharp scissors or a rotary cutter for clean cuts. Measure carefully to ensure even edges and fringe. Lay the fleece flat to avoid buckling. Tie knots tightly but evenly to maintain a smooth finish. Use masking tape as a guide for consistent fringe spacing. Consider using a template for uniform corners. Keep the blanket single-layered for comfort. Wash the blanket before donating if pets are present. With patience and attention to detail, your no-sew fleece blanket will be cozy, durable, and heartfelt.